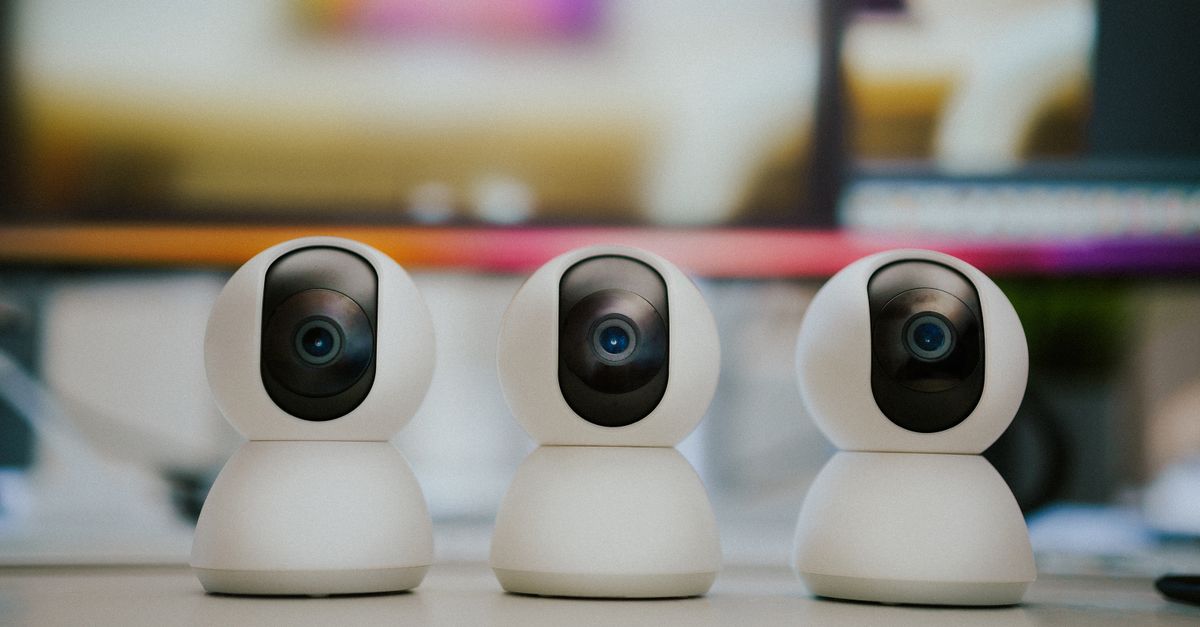
Why Your Pet Camera Shows Blurry Footage (And The Pro Secrets for Crystal-Clear Monitoring)
You’ve invested in a pet camera, hoping to catch those adorable moments your furry friend gets up to while you’re out. Maybe you want to monitor their anxiety, check in on a new puppy, or simply enjoy their antics from afar. But instead of the sharp, endearing images you envisioned, you’re constantly greeted with frustratingly blurry, pixelated, or jumpy footage. It’s like watching a home movie from the 90s, where half the action is a smear of color and the other half is a frantic, out-of-focus mess. You zoom in, adjust settings, clean the lens – but nothing seems to make a difference. In my experience, this common problem isn’t usually due to a faulty camera (though that can happen), but rather a handful of overlooked environmental factors and setup mistakes that can sabotage even the best equipment.
I’ve spent countless hours troubleshooting these exact issues for friends, family, and even my own notoriously energetic beagle. What I’ve found is that most online advice glosses over the nuanced interplay between lighting, Wi-Fi stability, camera placement, and even pet behavior. This isn’t about buying the most expensive camera; it’s about understanding the hidden culprits behind poor image quality and applying targeted solutions that actually work. Once you address these often-invisible factors, you’ll unlock the crystal-clear monitoring you always wanted, allowing you to truly connect with your pet, even when you’re miles away.
Key Takeaways
- Ensure strong, stable Wi-Fi connectivity, as inconsistent signals are the leading cause of blurry or choppy footage.
- Optimize lighting conditions, especially avoiding backlighting and ensuring adequate, diffused ambient light.
- Strategically place your camera for optimal viewing angles and stability, preventing common obstructions and shaky images.
- Regularly clean the camera lens and check for physical damage, as even minor smudges drastically reduce clarity.
- Adjust camera settings like resolution, frame rate, and motion sensitivity to match your Wi-Fi capacity and specific monitoring needs.
The Invisible Killer: Your Unstable Wi-Fi Connection
When I first got a pet camera for my beagle, Buster, I assumed my Wi-Fi was robust enough. After all, I streamed movies and worked from home without a hitch. But my early footage of Buster was consistently choppy and pixelated, especially when he darted around. The mistake I see most often, and one I made myself, is assuming general home Wi-Fi strength translates to perfect pet camera performance. It doesn’t. Pet cameras, especially those streaming in HD or 4K, demand a consistent, high-bandwidth connection, often more than you realize. A momentary dip in signal strength, a burst of interference, or even just distance from your router can turn sharp footage into a blurry mess.
Think of it this way: your camera is constantly sending a stream of data. If that stream gets interrupted, packets are dropped, and your camera’s software tries to compensate. This compensation often manifests as lower resolution, compression artifacts (those blocky pixels), or skipped frames, all leading to a blurry or jumpy experience. What changed everything for me was performing a dedicated Wi-Fi signal strength test right where the camera was mounted, and comparing it to the bandwidth requirements of the camera itself. Many people ignore this crucial step.
Here’s what actually works: First, relocate your Wi-Fi router if it’s far from the camera. Even moving it a few feet can dramatically improve signal quality. Second, consider a mesh Wi-Fi system or a dedicated Wi-Fi extender/repeater placed strategically between your router and the camera. Don’t just pick any extender; invest in one with good reviews for streaming video and place it about halfway between the two points, not right next to the camera. Third, prioritize your camera’s traffic if your router supports Quality of Service (QoS) settings. This tells your router to give your camera’s data stream preferential treatment over other devices, like someone streaming Netflix or downloading large files. Finally, if your camera supports both 2.4GHz and 5GHz bands, test both. While 5GHz offers faster speeds, 2.4GHz often has better range and penetration through walls, which can be critical for a stable signal in a pet-friendly home.
The Blinding Truth: Suboptimal Lighting Conditions
My friend once complained her new expensive pet camera produced ‘grainy, dark, blurry’ footage. She was convinced it was defective. When I visited, I found the camera was placed directly facing a bright window. The mistake here is simple yet pervasive: backlighting. When a strong light source (like a window) is behind your pet, the camera’s sensor struggles. It either overexposes the background, making your pet a dark silhouette, or it tries to compensate by increasing its ISO sensitivity, which introduces digital ‘noise’ – that grainy, blurry appearance – especially in darker areas.
But backlighting isn’t the only lighting culprit. Insufficient lighting is also a major issue. Many people assume their camera’s night vision will cover everything, but night vision, whether infrared or low-light color, has limitations. Infrared footage is monochrome and can still be blurry if the object is too far or moving too fast. Low-light color modes often come with increased graininess. The goal is always to maximize natural, consistent light. In my experience, relying solely on night vision during the day or in dimly lit rooms is a recipe for disappointment.
What actually works for crystal-clear footage involves a multi-pronged lighting strategy: First, reposition your camera to avoid direct backlighting. If a window is unavoidable, try to position the camera so the light source is to the side or front of your pet. Second, introduce diffused ambient lighting. This means softer light, like from a floor lamp with a shade, rather than harsh overhead lights or direct spotlights. Smart bulbs are great here, as you can adjust brightness and warmth remotely. Third, if you’re concerned about night monitoring, consider supplemental, low-level, pet-safe lighting in the room. A small lamp on a timer or a smart bulb set to a very dim glow can provide just enough ambient light to enhance your camera’s low-light capabilities without disturbing your pet, leading to clearer, less grainy night vision.
The Shaky Setup: Poor Camera Placement and Stability
I vividly remember watching footage of my dog, Max, on a friend’s camera. Every time he nudged his toy box, the entire frame wobbled and then slowly settled back. The camera was perched precariously on top of the same toy box. This illustrates a critical, yet often overlooked, factor: camera stability. A camera that shakes, even subtly, will produce blurry images, especially with motion. The problem isn’t just accidental bumps; it can be vibration from foot traffic, a vibrating appliance, or even a flimsy mounting surface. What’s more, your camera’s field of view and height directly impact how much of your pet’s environment you can monitor clearly. A camera too low might only capture their belly; too high, and small movements become hard to discern.
The common mistake is simply placing the camera where it’s convenient, without considering the practicalities of a dynamic, pet-filled environment. You need to think like a cinematographer and a pet owner simultaneously. What actually works involves strategic mounting and careful positioning: Firstly, mount your camera securely to a stable, non-vibrating surface. Wall mounts are ideal, but if you’re using a shelf, ensure it’s robust and away from high-traffic areas or vibrating electronics. Avoid placing it on furniture your pet can easily bump or on top of appliances like a washing machine. Command strips often aren’t enough; use screws if possible. Secondly, optimize the viewing angle and height. For most pets, a camera mounted roughly 4-6 feet off the ground, angled slightly downwards, provides a wide view of their main activity zone without being easily knocked over or becoming an obstruction. This height allows you to see their body language clearly, from their head to their paws. Finally, consider the background. Remove any busy patterns or clutter directly behind your pet’s primary activity area. A simpler background allows the camera to focus more easily on your pet, reducing the likelihood of a blurry subject against a sharp, distracting backdrop.
The Smudge Factor: Neglecting Lens Care and Physical Damage
This one sounds obvious, but you’d be surprised. My client called me in a panic because her high-end pet camera was suddenly producing incredibly soft, almost Vaseline-smeared footage. She was ready to return it. My first question: “When did you last clean the lens?” Silence. Five minutes later, after a quick wipe with a microfiber cloth, her footage was pristine. The mistake? Underestimating the impact of microscopic dust, pet hair, and smudges on the camera lens. Just like a smartphone camera, a pet camera lens is exposed to its environment. Pet hair, dust, nose boops from curious pets, or even condensation can obscure the lens, scattering light and drastically reducing image sharpness and clarity. Even a tiny, almost invisible speck can have a disproportionate effect on image quality.
Another often-missed issue is minor physical damage. A tiny scratch from a curious claw, a hairline crack from an accidental drop during setup, or even a slight misalignment in the lens housing can permanently degrade image quality. These aren’t always obvious to the naked eye, especially on tiny lenses.
What actually works for maintaining crystal-clear footage involves a simple but consistent care routine: First, regularly clean the lens with a microfiber cloth specifically designed for optics. Avoid harsh cleaners or paper towels, which can scratch the delicate lens coating. For stubborn smudges, a gentle camera lens cleaning solution applied to the cloth (never directly to the lens) can work wonders. Make it a weekly habit. Second, inspect for physical damage. Periodically check the lens for scratches, cracks, or any signs of misalignment. If your camera was dropped or bumped, even if it seems to work, check the lens. If you find damage, sometimes a replacement lens cover is available, or it might be time for a professional repair or replacement. Third, consider a protective cover or strategic placement if your pet is particularly curious. While not always practical for cameras that move or pan, some fixed cameras have accessories or you can strategically place it just out of paw’s reach to minimize direct contact.
The Resolution Illusion: Mismatched Settings and Expectations
I’ve encountered countless users who bought a ‘1080p’ or ‘2K’ camera and were disappointed when the live feed looked far worse. They often blamed the camera, but the real issue was a mismatch between the camera’s capabilities, their Wi-Fi’s reality, and their own expectations. The mistake most people make is assuming a high advertised resolution automatically translates to flawless live streaming, regardless of network conditions or other settings. Manufacturers often list the maximum resolution a camera can record, which might be different from its default live stream resolution, or the resolution your Wi-Fi can stably support. Streaming 2K footage over a weak Wi-Fi connection is like trying to pour a gallon of water through a straw – you’ll get drips, not a steady flow, resulting in blurry, compressed video.
Furthermore, many don’t realize that frame rate (frames per second, or FPS) also significantly impacts perceived clarity, especially with moving pets. A low frame rate (e.g., 10-15 FPS) will make even a sharp image appear jumpy and blurry during motion. Then there’s motion detection sensitivity – if it’s too high, your camera might be constantly recording short, jerky clips, further straining your network and storage.
What actually works for optimal clarity involves understanding and adjusting your camera’s settings: First, experiment with different resolution settings. While 1080p is a good target, if your Wi-Fi struggles, dropping down to 720p might offer a much clearer, more stable picture without pixelation and choppiness, which is far preferable to a blurry high-resolution stream. Second, prioritize frame rate where possible. Aim for at least 20-30 FPS for smooth motion capture. Many cameras allow you to adjust this; find a balance that your Wi-Fi can handle. Third, tweak motion sensitivity to reduce unnecessary recordings and network strain. Some cameras even allow you to define activity zones, so it only focuses on your pet’s main area. Finally, regularly check for firmware updates. Manufacturers often release updates that improve streaming stability, image processing, and overall performance, directly addressing blurriness and choppiness issues that might be software-related. Don’t just set it and forget it; be proactive with your camera’s internal intelligence.
Frequently Asked Questions
Q1: My pet camera footage is blurry only at night. What could be the issue?
A1: Blurry night footage often points to issues with your camera’s night vision (infrared or low-light color mode). Common culprits include insufficient ambient light (even night vision needs some light to work effectively), interference from reflective surfaces near the camera (like glass or mirrors), or a dirty lens that scatters the infrared light. Try adding a low-level, diffused ambient light source in the room, repositioning the camera to avoid reflections, and thoroughly cleaning the lens with an optical-grade microfiber cloth.
Q2: Why does my pet camera look clear sometimes, but blurry at other times?
A2: Inconsistent blurriness is almost always a sign of an unstable or fluctuating Wi-Fi connection. When your signal dips, the camera lowers its resolution or drops frames to maintain a stream, leading to blurriness or choppiness. Other factors could be network congestion (many devices using Wi-Fi simultaneously) or external interference. Check your Wi-Fi signal strength at the camera’s location, consider a Wi-Fi extender, or prioritize your camera’s traffic in your router settings (QoS).
Q3: How often should I clean my pet camera lens?
A3: I recommend cleaning your pet camera lens at least once a week, or more frequently if you notice any smudges, dust, or pet hair accumulating. Given their proximity to pets and exposure to everyday household elements, these lenses can get dirty quickly. Always use a clean, dry microfiber cloth designed for optics, and avoid using harsh chemicals or abrasive materials that could scratch the lens.
Q4: Can motion blur be fixed with camera settings?
A4: While you can’t entirely eliminate motion blur if your pet is moving very rapidly, you can significantly reduce it by increasing the camera’s frame rate (FPS) if your model allows. A higher frame rate (e.g., 25-30 FPS) captures more individual images per second, making fast movements appear smoother and less blurry. Ensure your Wi-Fi connection can handle the increased data load that comes with higher frame rates and resolutions.
Q5: My camera footage has a strange ‘haze’ or ‘glow.’ What is that?
A5: A hazy or glowing effect, especially with night vision, is often caused by infrared light reflecting off a nearby surface and back into the lens. This could be a window, a wall very close to the camera, or even a picture frame. Repositioning the camera slightly, ensuring there are no close reflective objects in its immediate field of view, can usually resolve this issue and improve clarity.
Getting crystal-clear footage from your pet camera isn’t about magic; it’s about meticulous attention to the details that most people overlook. By focusing on a stable Wi-Fi connection, optimized lighting, secure placement, diligent lens care, and smart setting adjustments, you can transform your blurry recordings into sharp, delightful moments. Don’t let a fuzzy screen prevent you from connecting with your beloved pet. Take these steps, and you’ll soon be enjoying every wag, purr, and playful leap in vivid detail.
Written by Chloe Davies
Lifestyle & Well-being
Chloe, a seasoned lifestyle editor, focuses on curating attainable improvements for everyday living, from home organization to well-being.
You Might Also Like

Why Your Homemade Pie Crust Is Soggy (And The Pro Secrets for Flaky Perfection Every Time)
Stop soggy pie crusts! Learn the critical mistakes home bakers make and the pro secrets for perfectly flaky, golden pie crusts every time.

Why Your Garden Faucet Always Leaks (And The Simple Fixes Most People Miss)
Stop that annoying drip! Discover the overlooked reasons your garden faucet leaks and the practical, pro-level fixes that actually work.

Why Your Homemade Sauces Are Too Thick or Gummy (And The Pro Secrets for Silky Perfection Every Time)
Struggling with thick, gummy sauces? Learn the pro secrets to achieve silky-smooth, perfectly textured homemade sauces every time.