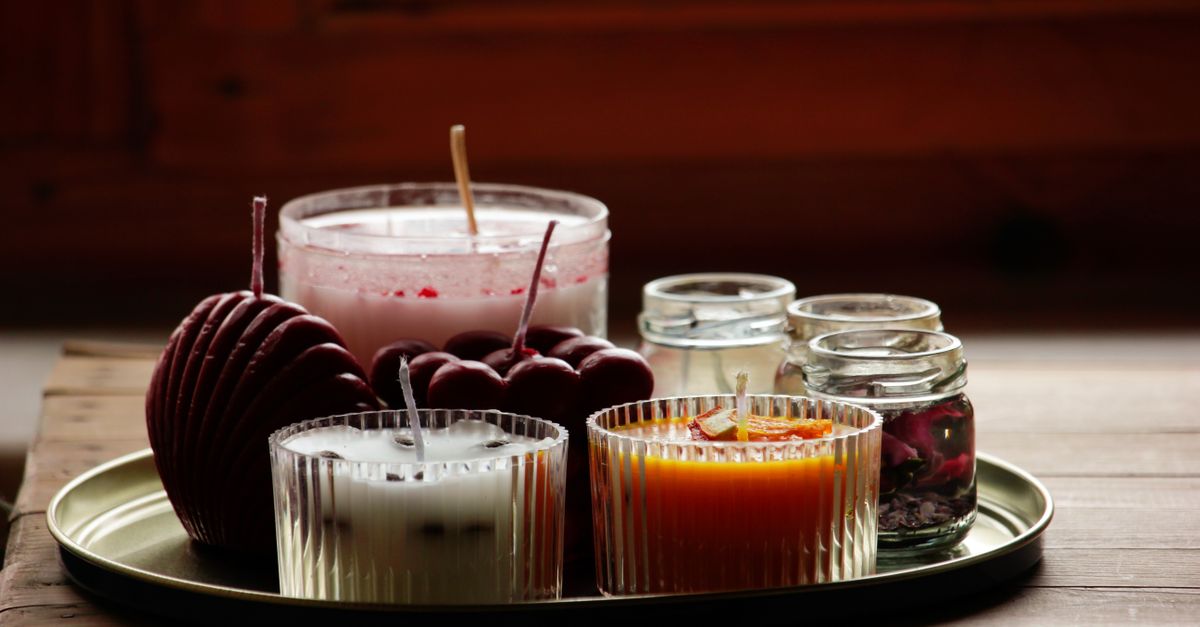
Why Your Homemade Candles Fail (And The Pro Secrets for Clean, Even Burns)
You’ve seen the beautiful, artisanal candles online and thought, ‘I can do that!’ You invested in waxes, wicks, fragrance oils, and cute jars. You poured your heart into crafting your first batch, envisioning a cozy glow and a delightful scent filling your home. But then you light one, and disaster strikes: tunneling, where the wick burns straight down the middle, leaving a thick ring of unused wax. Or maybe it’s sooting, that unsightly black residue clinging to the jar, or a flame that’s too big, too small, or simply flickers out. What went wrong? In my experience, the problem isn’t a lack of effort or creativity, but rather a few critical, often overlooked technical details that separate a beautiful, functional candle from a frustrating fail.
I’ve spent countless hours experimenting with candle making, from tiny votives to multi-wick centerpieces. I’ve made every mistake in the book – from candles that smelled like nothing to those that practically created a mini bonfire. What changed everything for me wasn’t just buying better ingredients, but understanding the science behind a perfect burn. This isn’t just about aesthetics; a poorly burning candle can be a fire hazard and certainly doesn’t deliver the aromatherapy experience you’re hoping for. Forget the generic online tutorials that gloss over these vital points. This is about real, actionable insights to transform your homemade candles from frustrating failures into consistent, clean-burning triumphs.
Key Takeaways
- Proper wick sizing is paramount; it directly impacts melt pool diameter and prevents tunneling or excessive sooting.
- The correct wax-to-fragrance oil ratio and mixing temperature prevent scent throw issues and ensure a stable burn.
- Curing candles for at least 1-2 weeks is crucial for optimal fragrance throw and a clean, consistent burn.
- Pre-heating your jars and ensuring wax is poured at the right temperature eliminates wet spots and improves adhesion.
The Wick: Your Candle’s Unsung Hero (And Most Common Downfall)
When I first started, I thought all wicks were pretty much the same. Big candle, big wick, right? Wrong. This is the mistake I see most often, and it’s the root cause of about 80% of homemade candle failures. A wick isn’t just a string; it’s a carefully engineered component designed to draw molten wax up to the flame at a specific rate. The most critical factor? Wick size, which is directly tied to the diameter of your candle vessel and the type of wax you’re using.
Let’s talk specifics. If your wick is too small for the container’s diameter or the wax type, it won’t be able to create a full melt pool – that liquid wax from edge to edge. This leads to tunneling, where the flame only melts the wax directly around it, leaving a thick wall of unused wax. Not only is this wasteful, but it also chokes the flame over time, eventually extinguishing the candle prematurely. I’ve wasted pounds of expensive wax learning this lesson.
Conversely, a wick that’s too large will create an overly large flame, causing excessive sooting (black smoke and residue on the jar) and burning through the wax too quickly. It can also overheat the container, posing a serious fire risk, especially with glass vessels that can shatter.
What changed everything for me was creating a detailed wick testing log. For every new wax type, fragrance oil, and container combination, I test at least three different wick sizes. For instance, if I’m using an 8 oz soy wax candle in a 3-inch diameter jar, I might start with a CD-10, then test a CD-12 and a CD-14. I light each, let it burn for 3-4 hours (allowing it to establish a full melt pool), then extinguish it and note the melt pool diameter (ideally ½ inch from the edge) and depth, flame height, and any sooting. I repeat this over several burns. This systematic approach, rather than guesswork, is the only way to consistently achieve that perfect, even burn. Don’t rely on generic wick charts; they’re a starting point, not a guarantee. Your specific wax blend, fragrance oil, and dye will all affect how a wick performs.
The Science of Scent: Why Your Candles Smell Like Nothing (Or Too Much)
Many beginner candlemakers struggle with scent throw, which is how well the fragrance disperses into the room. You added a whole bottle of fragrance oil, so why does it smell so faint? Or, equally frustrating, why does it smell overwhelming and chemically? This comes down to two often-misunderstood factors: fragrance load and pouring temperature.
Most waxes have a maximum recommended fragrance load, typically between 6-10% by weight. Going above this limit is a common mistake. You might think more oil equals more scent, but it actually disrupts the wax’s ability to bind with the oil. This can lead to the oil sweating out (leaving oily puddles on top of your candle), poor burning performance (as the excess oil acts like a fuel, causing larger flames and sooting), and surprisingly, often a weaker scent throw because the oil isn’t properly integrated.
The real secret, in my experience, is adhering to the manufacturer’s recommended fragrance load for your specific wax type. For soy wax, I find 8% to be a sweet spot for most fragrance oils, while paraffin might handle 10%. Always weigh your fragrance oil; never measure by volume. For an 8 oz candle (which is roughly 227 grams of wax), an 8% fragrance load would be 18.16 grams of oil (227 * 0.08).
Equally important is the fragrance oil pouring temperature. Each wax has an optimal temperature range for adding fragrance oil, typically around 180-185°F (82-85°C) for soy wax. If you add the oil when the wax is too hot, the volatile fragrance compounds can flash off, losing their potency before they even set. If the wax is too cool, the oil won’t fully bind, leading to separation and poor scent throw. Always stir gently but thoroughly for at least 1-2 minutes after adding the fragrance oil to ensure it’s fully incorporated before pouring into your jars. This meticulous attention to temperature and measurement is what elevates a candle from just ‘smelling okay’ to truly filling a room with its intended aroma.
The Crucial Curing Period: Patience is a Virtue (And a Necessity)
This is perhaps the most difficult part for impatient candlemakers (myself included, in the beginning). You’ve poured your beautiful candles, they’ve set, and you want to light them immediately. Stop! Curing is non-negotiable for optimal scent throw and burn performance. This process, usually lasting 1-2 weeks (sometimes up to 3-4 weeks for certain waxes and oils), allows the fragrance oil molecules to fully bind with the wax crystals. Think of it like aging a fine wine or cheese – it needs time to develop.
When you light a candle that hasn’t fully cured, you might notice a very weak scent or one that only appears when you get very close to the flame. The burn might also be inconsistent, flickering, or soot more. This is because the fragrance oil hasn’t had enough time to integrate properly with the wax, so it’s not being released efficiently as the wax melts.
In my own journey, I learned to make labels for my candles with the pour date and the ‘cure until’ date. I store them in a cool, dark place, away from drafts and direct sunlight. The difference between a fresh candle and one cured for two weeks is night and day. A well-cured candle will release its scent much more strongly and consistently, and you’ll get a cleaner, more stable burn. This seemingly simple step is a powerful one, often underestimated by beginners, but it’s a cornerstone of professional-quality candle making.
Perfecting the Pour: Avoiding Those Pesky Wet Spots and Uneven Surfaces
While they don’t directly impact the burn, wet spots (areas where the wax pulls away from the jar, creating what looks like a ‘wet’ patch) and uneven tops can make your homemade candles look less than professional. These are common aesthetic issues that, once understood, are relatively easy to mitigate.
Wet spots are primarily caused by the temperature difference between the poured wax and the candle container. If your container is too cold, the wax will cool too quickly on contact, causing it to shrink away from the glass as it cures. My game-changing solution was to pre-heat my jars. I place my empty, wicked jars on a baking sheet and warm them gently in an oven set to its lowest temperature (usually around 170-200°F or 77-93°C) for about 10-15 minutes before pouring. This brings the glass closer to the wax temperature, allowing for a more even cooling and better adhesion. You’ll notice a significant reduction in wet spots, especially with natural waxes like soy.
For uneven tops, which often appear as craters or divots after the wax sets, the culprit is usually uneven cooling or pouring at too low a temperature. Some waxes, especially natural waxes, are more prone to this. I’ve found a few techniques to minimize this:
- Pour at the correct temperature range: Don’t pour too cool, as this leads to thicker, less fluid wax that can’t settle evenly.
- Pour slowly and steadily: This helps prevent air bubbles and ensures a smooth flow.
- Use a heat gun for touch-ups: If you do get a slight crater, a quick pass with a heat gun (held a few inches away) can gently re-melt the top layer, allowing it to re-settle flat. Just be careful not to overheat the wax or burn the wick.
- Consider a second pour: For very deep craters, you might need to reserve a small amount of scented wax from your initial batch and do a small ‘top-up’ pour once the first layer has fully set but is still slightly warm (after a few hours). This is more common with waxes that have significant shrinkage.
By addressing these common pitfalls, your homemade candles will not only look beautiful but perform flawlessly, delivering that consistent, fragrant ambiance you’ve always wanted. It’s all about attention to detail and respecting the science of the craft.
Frequently Asked Questions
Q: Why is my candle tunneling, and how can I fix it?
A: Tunneling usually means your wick is too small for the container’s diameter or the wax type. To fix it, next time, use a larger wick size (e.g., go from a CD-10 to a CD-12). If you already have a tunneled candle, you can sometimes rescue it by carefully melting the excess wax down to the wick level with a heat gun or by wrapping the top of the candle with aluminum foil and letting it burn for several hours, creating a ‘greenhouse’ effect to melt the unused wax.
Q: My candle is sooting excessively. What’s wrong?
A: Excessive sooting (black smoke) indicates your wick is too large for the container or wax, causing too big of a flame. It can also be caused by an excessive fragrance load or too much dye. Next time, try a smaller wick size or reduce your fragrance/dye percentage. Always trim your wick to 1/4 inch before each burn to minimize sooting.
Q: Why does my candle have no scent throw, even with lots of fragrance oil?
A: This is typically due to an incorrect fragrance load (too much or too little) or adding the fragrance oil at the wrong temperature. Ensure you’re weighing your fragrance oil accurately (usually 6-10% by wax weight) and adding it when the wax is at the manufacturer’s recommended temperature (e.g., 180-185°F for soy wax), stirring thoroughly. Crucially, allow your candles to cure for 1-2 weeks before burning.
Q: How can I prevent wet spots on my candle jars?
A: Wet spots occur when the wax cools too quickly on contact with a cold jar, causing it to shrink and pull away from the glass. To prevent this, pre-heat your jars in a low oven (around 170-200°F) for 10-15 minutes before pouring the wax. This reduces the temperature difference and improves wax adhesion to the glass.
Q: My candle tops are uneven or have craters after cooling. How do I get a smooth finish?
A: Uneven tops are often caused by uneven cooling or pouring the wax at too low a temperature. To get a smoother finish, pour your wax slowly within the recommended temperature range. For minor imperfections, use a heat gun to gently re-melt the surface for a few seconds. For deeper craters, a small second pour of reserved, scented wax can fill them in after the first pour has mostly set.
Crafting beautiful, functional homemade candles is a truly rewarding experience, but it’s one that demands precision and patience. By focusing on these often-overlooked ‘pro secrets’ – meticulous wick sizing, precise fragrance loading and pouring temperatures, a dedicated curing period, and careful pouring techniques – you can transform your candle-making game. Move beyond the frustration of tunneling and weak scents, and embrace the joy of consistently creating candles that burn cleanly, fill your home with exquisite aromas, and look every bit as good as their store-bought counterparts. The journey from beginner to master is one of learning these subtle yet powerful details, and I promise, the results are well worth the effort.
Written by Chloe Davies
Lifestyle & Well-being
Chloe, a seasoned lifestyle editor, focuses on curating attainable improvements for everyday living, from home organization to well-being.
You Might Also Like

Why Your Homemade Pie Crust Is Soggy (And The Pro Secrets for Flaky Perfection Every Time)
Stop soggy pie crusts! Learn the critical mistakes home bakers make and the pro secrets for perfectly flaky, golden pie crusts every time.

Why Your Garden Faucet Always Leaks (And The Simple Fixes Most People Miss)
Stop that annoying drip! Discover the overlooked reasons your garden faucet leaks and the practical, pro-level fixes that actually work.

Why Your Homemade Sauces Are Too Thick or Gummy (And The Pro Secrets for Silky Perfection Every Time)
Struggling with thick, gummy sauces? Learn the pro secrets to achieve silky-smooth, perfectly textured homemade sauces every time.