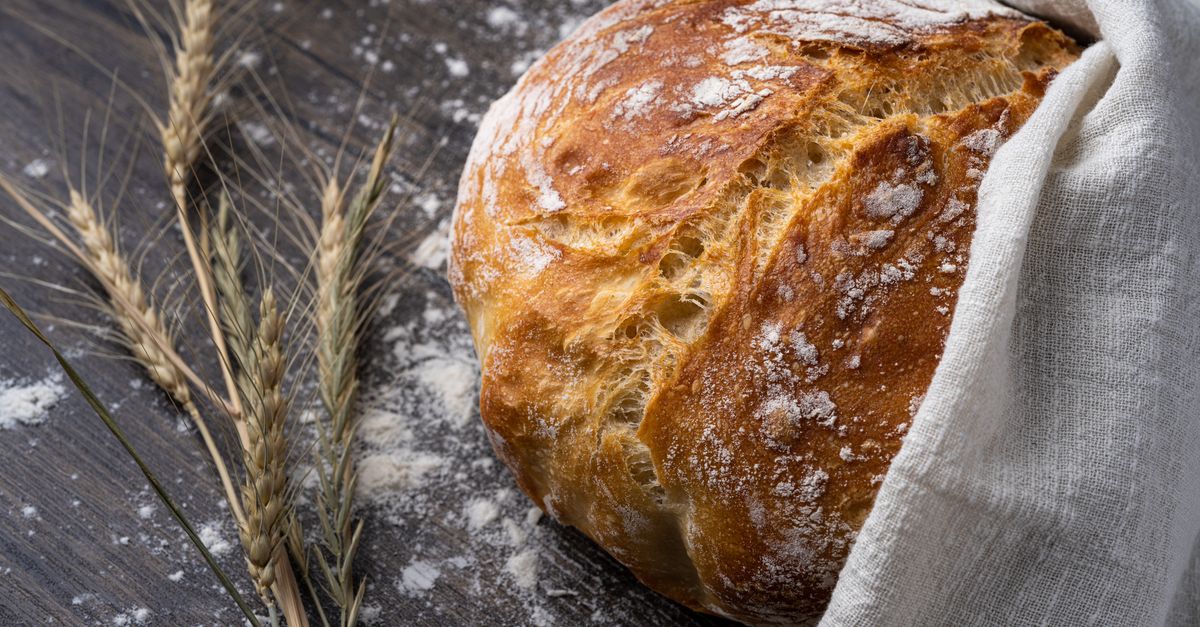
Why Your Homemade Bread is Dense and Crumbly (And The Simple Secrets to a Light, Airy Loaf Every Time)
Is there anything more disheartening than pulling a loaf of homemade bread out of the oven, only to find it dense, heavy, and crumbling into an unappetizing mess? I’ve been there countless times. For years, my kitchen adventures with bread-making ended in frustration. I followed recipes to the letter, used fresh ingredients, and still, my bread consistently failed to achieve that coveted light, airy texture with a satisfying chew.
It felt like a personal baking curse. I yearned for the kind of bread that made you want to tear off a piece and eat it plain, the kind that held up beautifully for sandwiches and toasted perfectly. Instead, I got bricks that weighed down my stomach and crumbled at the slightest touch. I was convinced bread-making was an art form reserved for professional bakers or those with some innate ‘baking touch’ I simply lacked. Every dense, crumbly loaf chipped away at my confidence, making me question if I should just stick to buying bread from the store.
But then, through a mix of diligent research, countless experiments (some still failed, I admit!), and finally, a few crucial conversations with seasoned home bakers, I uncovered the real reasons behind my dense loaves. It wasn’t about a secret ingredient or a mystical technique. It was about understanding fundamental principles of bread chemistry and mastering a few often-overlooked steps that make all the difference. What I discovered fundamentally changed my relationship with bread making, transforming it from a source of dread into a joyful, rewarding process. If you’re tired of bread that disappoints, prepare to unlock the secrets to consistently light, airy, and utterly delicious homemade loaves.
Key Takeaways
- Precise ingredient measurement, especially flour, is non-negotiable for proper dough hydration and structure.
- Thorough kneading develops gluten sufficiently, which is the foundation of a light, elastic crumb.
- Optimal proofing at the right temperature and duration is crucial for air pockets and flavor development.
- Steam in the oven during the initial bake prevents premature crusting, allowing for maximum oven spring.
The Hidden Enemy: Inaccurate Flour Measurement
When I first started baking, I treated flour like any other ingredient, scooping it directly from the bag with a measuring cup. The recipes often called for ‘cups’ of flour, so why complicate it? This, I later learned, was one of my biggest sabotaging mistakes. Flour, especially when scooped, can vary wildly in weight, sometimes by as much as 30% per cup. A recipe might call for 3 cups of flour, which, if accurately weighed, might be 360 grams. But if I heavy-handedly scooped, I could easily be adding 400-450 grams, effectively throwing off the delicate flour-to-liquid ratio.
Think of it this way: your dough is a finely tuned system. Too much flour, and your dough becomes stiff, making it difficult for the yeast to work its magic and create those airy pockets. It’s like trying to inflate a deflated balloon that’s been crammed into a small box — there’s no room for expansion. This excess flour also means there isn’t enough liquid to properly hydrate the gluten, leading to a weak structure that crumbles rather than stretches. In my dense, crumbly loaves, this was almost always the underlying issue. The dough felt dry and heavy from the start, a red flag I consistently ignored.
The Fix: Weigh Your Flour. This might seem like an extra step, but investing in a simple digital kitchen scale changed my bread-making game entirely. Most reputable baking recipes now include gram measurements for flour, and for good reason. It ensures consistency every single time. If a recipe only gives cup measurements, a good rule of thumb is that one cup of all-purpose flour weighs approximately 120-125 grams (check your specific flour’s packaging for a more precise number). This simple switch to weighing, rather than scooping, eliminated the guesswork and immediately improved the texture of my loaves. My dough started feeling pliable and responsive, a completely different experience.
The Overlooked Power of Proper Kneading
For a long time, I viewed kneading as a tedious chore, something to get through as quickly as possible. I’d knead for the minimum time specified in the recipe, assuming ‘a few minutes’ was enough. My hands would get tired, and I’d call it quits. What I didn’t understand was the profound impact kneading has on gluten development, and consequently, on the final texture of the bread.
Gluten is the protein network that forms when flour and water are combined and then worked (kneaded). This network is what gives bread its elasticity, allowing it to trap the gases produced by yeast. Without sufficient gluten development, your dough lacks the strength and flexibility to hold onto those gas bubbles. Imagine trying to blow up a plastic bag – it expands, but it’s not elastic, and if you poke it, it tears easily. That’s what under-kneaded dough is like. The resulting loaf will be dense because the gases escape, and crumbly because the structure isn’t strong enough to hold together.
My early loaves were a testament to this. They never had that satisfying spring-back when poked. They felt heavy, almost lifeless. The crumb was tight and tore rather than stretched. What changed everything for me was learning to truly feel the dough and understand what proper gluten development looks like.
The Fix: Knead Until It Passes the Windowpane Test. Forget the clock. Your dough will tell you when it’s ready. Knead for longer than you think you need to. For most lean doughs (like basic sandwich bread), this can be anywhere from 8-15 minutes by hand, or 6-10 minutes in a stand mixer. To test for sufficient gluten development, perform the ‘windowpane test’: pinch off a small piece of dough, gently stretch it between your fingers. If you can stretch it thin enough to see light through it without it tearing (like a small windowpane), your gluten is well-developed. If it tears quickly, keep kneading. This test was a revelation. It forced me to actually engage with the dough and ensure it had the necessary strength. The difference was night and day; my loaves began to exhibit an internal structure that was light and resilient.
The Critical Mistake: Improper Proofing
Proofing, also known as fermentation, is where the yeast does its primary work, producing carbon dioxide gas that makes the dough rise and contributes to flavor. I used to think ‘let it rise until doubled’ was enough instruction. I’d stick my bowl in a corner of the kitchen, check it an hour later, and if it looked bigger, I’d move on. This casual approach often led to under-proofed or, sometimes, over-proofed dough, both of which result in a less-than-ideal final product.
Under-proofing means the yeast hasn’t had enough time to generate sufficient gas, so the dough won’t have the volume needed for a light crumb. It’s like trying to bake a cake with too little baking powder – it simply won’t rise enough. The loaf will be dense and heavy, with a tight, gummy texture. Over-proofing, on the other hand, means the yeast has gone past its peak, consuming all the available sugars and causing the gluten structure to weaken and collapse. This results in a fragile dough that might rise dramatically in the bowl but then often collapses in the oven, leading to a coarse, crumbly, and sometimes sour-tasting bread.
The critical factor I overlooked was temperature. Yeast activity is highly dependent on temperature. A cold kitchen meant slow, sluggish proofing, while a warm spot could accelerate it too much. My haphazard approach to proofing meant I rarely hit that sweet spot of perfectly proofed dough.
The Fix: Control Temperature and Watch the Dough, Not the Clock. Aim for a consistent proofing temperature, ideally between 75-80°F (24-27°C). A turned-off oven with the light on, or a proofing box, works wonders. More importantly, learn to judge the dough visually and by touch. For the first rise (bulk fermentation), it should roughly double in size and feel soft and airy. For the second rise (final proof), it should look significantly expanded and, when gently poked with a floured finger, it should spring back slowly, leaving a slight indentation. If it springs back immediately, it needs more time. If the indentation remains, it’s likely over-proofed. This active observation, rather than just waiting a set time, became paramount. I started seeing larger, more consistent air pockets in my dough, which translated directly into a lighter loaf.
The Silent Killer of Oven Spring: Lack of Steam
After all the careful measuring, kneading, and proofing, my loaves would often go into the hot oven looking promising, only to emerge with a hard, thick crust and less rise than I’d hoped. This was particularly frustrating. I assumed a hot oven was all you needed, but I was missing a crucial element: steam.
Steam in the oven, especially during the first 10-15 minutes of baking, plays a vital role in bread development. A dry, hot oven immediately forms a hard crust on the surface of the dough. This premature crust locks the dough in, preventing it from expanding further. The yeast, still vigorously producing gas in the hot environment, has nowhere to go, resulting in a dense internal structure and a limited ‘oven spring’ (the final burst of rising in the oven). Think of it like trying to blow up a balloon with super thick, inelastic skin – it won’t expand much.
The lack of steam was why my bread always had a tight, hard crust right out of the gate, and why the crumb inside wasn’t as open as I desired. It was a detail so simple, yet so profoundly impactful on the final loaf.
The Fix: Create a Steamy Environment. There are several ways to do this effectively. My preferred method is to preheat a heavy baking sheet or a Dutch oven inside the oven. Just before I load the bread, I pour about a cup of boiling water into a separate tray (a cast iron pan works great) placed on the bottom rack of the oven. Close the door quickly to trap the steam. For even better results, especially with free-form loaves, I often bake in a preheated Dutch oven with the lid on for the first 20-25 minutes, then remove the lid to allow the crust to brown and crisp up. The steam allows the dough to expand freely before the crust sets, leading to maximum oven spring and a wonderfully thin, crackly crust. This single trick made my bread look and feel like it came from a professional bakery, with those beautiful, open crumbs I had always admired.
The Post-Bake Impatience: Slicing Too Soon
Okay, this isn’t about making the bread dense, but it is about making it seem dense, gummy, and crumbly, which is just as frustrating after all that hard work. I was guilty of it almost every time: pulling a beautiful, fragrant loaf out of the oven and, unable to resist the aroma, slicing into it after only a few minutes. The result? A seemingly undercooked, gummy interior that would sometimes fall apart, even if the exterior looked perfect.
What happens here is that the bread continues to cook even after it’s removed from the oven. The internal temperature remains high, and moisture is still redistributing throughout the loaf. Slicing too soon traps this steam and moisture, preventing it from properly setting. The starches inside the crumb haven’t fully gelled and cooled, leading to that sticky, gummy texture that makes the bread feel dense and unappealing. It’s like cutting into a soufflé straight out of the oven – it just collapses.
I vividly remember one particular incident. I made what looked like my best loaf yet, perfectly golden and aromatic. My family was gathered, forks ready. I sliced it, and the beautiful crumb turned into a squishy, slightly sticky mess. The outer crust was perfect, but the inside tasted like uncooked dough. It was a crushing disappointment after finally getting everything else right.
The Fix: Patience is a Virtue – Let It Cool Completely. This is perhaps the hardest rule to follow, given how incredible fresh bread smells. But it’s absolutely crucial. For most loaves, you need to let them cool on a wire rack for at least 1-2 hours, and for larger, denser loaves, even longer. Don’t cover it while it’s cooling, as that traps steam and makes the crust soft. The cooling process allows the starches to set, the moisture to equalize, and the flavors to fully develop. When you finally slice into a properly cooled loaf, you’ll be rewarded with a firm, elastic crumb that holds its shape, tastes incredible, and doesn’t turn into a crumbly disaster. This final, simple step ensures all your previous efforts are truly appreciated.
Frequently Asked Questions
Q: My bread is dense even after I weighed my flour. What else could be wrong?
A: Even with accurate flour measurement, other factors like insufficient kneading, incorrect proofing (too cold, too hot, or too short/long), or a weak yeast can lead to dense bread. Double-check your kneading technique using the windowpane test, ensure your proofing environment is consistently warm (75-80°F), and always use fresh yeast. If using active dry yeast, proof it in warm water with a pinch of sugar first to ensure it’s active before adding to the rest of the ingredients.
Q: How do I know if my dough is over-proofed or under-proofed?
A: For under-proofed dough, it will appear small for its proofing time, feel dense, and spring back quickly and completely when poked. When baked, it will have a very dense crumb and may burst at the seams. Over-proofed dough will look overly puffed, feel very slack, and deflate easily when poked, leaving a permanent indentation. It might even smell overly yeasty or alcoholic. When baked, it may collapse, have a coarse, open crumb, and a less developed flavor.
Q: Can I use a bread machine for kneading and then bake in the oven?
A: Absolutely! Many home bakers use their bread machine’s ‘dough’ cycle to do the initial mixing and kneading. This ensures thorough gluten development without the manual effort. Once the cycle finishes, you can then remove the dough, shape it, perform the second proof, and bake it in your regular oven with steam for excellent results. This can be a great way to save time and effort while still getting a beautifully textured loaf.
Q: My bread crust is too thick and hard. How can I get a thinner, crispier crust?
A: This is often due to a lack of steam in the oven during the initial baking phase. Ensure you’re generating sufficient steam in your oven (using a pan of boiling water or baking in a covered Dutch oven) for the first 10-20 minutes. This keeps the crust supple, allowing the dough to expand fully before the crust sets. Additionally, over-baking can lead to a very hard crust, so ensure you’re baking to the correct internal temperature (typically 200-210°F or 93-99°C for most lean breads).
Q: How important is the type of flour for a light, airy loaf?
A: Very important! For most light and airy loaves like sandwich bread, baguettes, or challah, an all-purpose flour or bread flour with a higher protein content (around 12-14%) is ideal. The higher protein content means more gluten can be developed, leading to a stronger, more elastic dough that can trap more gas and produce a lighter crumb. Using low-protein flour (like cake flour) will result in a weaker gluten structure and a denser loaf, while whole wheat flour, though nutritious, has bran particles that cut gluten strands, making it harder to achieve a very airy texture unless combined with a stronger white flour.
Conclusion
Baking truly remarkable homemade bread might seem daunting, especially when past attempts have yielded nothing but dense, crumbly disappointments. But as I’ve discovered, the journey from baking brick-like loaves to consistently turning out light, airy masterpieces is not about innate talent, but about understanding and respecting the fundamental science behind it. Precision in flour measurement, diligent kneading, mindful proofing, and the strategic use of steam in the oven are the pillars upon which truly great bread is built. And perhaps, most importantly, learning the art of patience, allowing your beautiful creation to cool completely before that first glorious slice.
My kitchen is now filled with the joyous aroma of successful bakes, and the satisfaction of sharing a perfectly textured loaf with friends and family is immeasurable. If you’ve been battling dense bread, take these insights to heart. Start with weighing your flour, extend your kneading time, pay close attention to your dough’s rise, introduce steam, and resist the urge to slice prematurely. You’ll be amazed at the transformation. Your journey to baking beautiful, light, and airy homemade bread starts now. Happy baking!
Written by Chloe Davies
Lifestyle & Well-being
Chloe, a seasoned lifestyle editor, focuses on curating attainable improvements for everyday living, from home organization to well-being.
You Might Also Like

Why Your Homemade Pie Crust Is Soggy (And The Pro Secrets for Flaky Perfection Every Time)
Stop soggy pie crusts! Learn the critical mistakes home bakers make and the pro secrets for perfectly flaky, golden pie crusts every time.

Why Your Garden Faucet Always Leaks (And The Simple Fixes Most People Miss)
Stop that annoying drip! Discover the overlooked reasons your garden faucet leaks and the practical, pro-level fixes that actually work.

Why Your Homemade Sauces Are Too Thick or Gummy (And The Pro Secrets for Silky Perfection Every Time)
Struggling with thick, gummy sauces? Learn the pro secrets to achieve silky-smooth, perfectly textured homemade sauces every time.