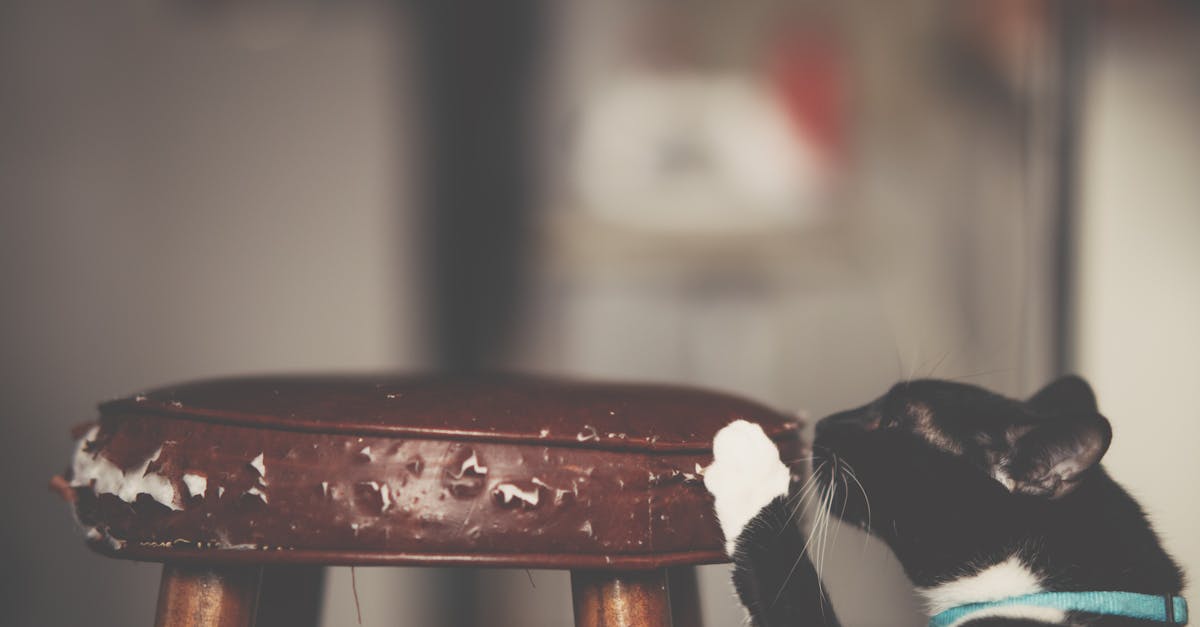
Why Your DIY Furniture Scratches So Easily (And The Pro Secrets for Lasting Durability)
You’ve spent hours, maybe even days, sanding, assembling, and painting that beautiful DIY console table or bookshelf. You stand back, admire your handiwork, and feel a surge of pride. Then, a few weeks later, a casual brush of a key, the slide of a decorative bowl, or even just setting down a cup leaves a disheartening white scratch across your perfectly finished surface. Sound familiar? In my experience, this is one of the most common and frustrating problems DIY furniture makers face. We invest so much time and effort, only to have our pieces look worn and neglected far too quickly.
The truth is, achieving a truly durable finish on DIY furniture is more complex than simply slapping on a coat of paint or stain. Many common DIY approaches miss crucial steps that professional furniture makers rely on to create pieces that stand up to daily life. It’s not just about what you apply, but how you prepare the surface, the specific products you choose, and the techniques you use for application and curing.
I’ve been there—mourning a perfectly good piece ruined by an unexpected scratch. What changed everything for me was realizing that durability isn’t an afterthought; it’s engineered into every step of the finishing process. This isn’t about buying expensive tools, but understanding the science and art behind a resilient surface. Let’s dive into why your DIY furniture scratches so easily and, more importantly, what you can do to make your projects last for years, not just weeks.
Key Takeaways
- Insufficient surface preparation, especially skipping grain filling, is a primary culprit for easy scratching.
- The type and quality of your topcoat are paramount for durability; water-based polyurethanes often fall short for heavy-use items.
- Applying too few coats or thin, uneven layers of topcoat significantly compromises scratch resistance.
- Proper curing time in ideal environmental conditions is as critical as application for maximum hardness and durability.
- Incorporating sacrificial layers like wax or specific furniture glides can provide an additional buffer against daily wear.
The Overlooked Foundation: Why Surface Prep Isn’t Just for Looks
Many DIY enthusiasts view surface preparation as primarily about aesthetics—getting a smooth, even base for paint or stain. While that’s true, inadequate surface prep is, in my experience, the number one reason DIY furniture scratches so easily. It’s not just about visible flaws; it’s about creating a strong bond for your protective layers.
The Grain Problem: Wood, even finely sanded, is a porous material with an open grain structure. If you apply a finish directly to this, the topcoat sinks into the pores unevenly. This leaves microscopic valleys and peaks, creating a weaker, thinner protective layer on the surface. When something brushes against it, it’s not hitting a solid, continuous shield, but rather thin, brittle sections that are easily compromised.
What Actually Works: Grain Filling and Sealing. Professional furniture makers almost always grain fill, especially on open-grained woods like oak, ash, or mahogany. Grain filler, a paste-like product, is literally pushed into the wood pores, then scraped off, leaving a perfectly level surface. This creates a solid, uniform foundation for your topcoats. For closed-grain woods (like maple or cherry) or if you’re painting, a dedicated sanding sealer or a high-build primer serves a similar purpose, creating a smooth, non-porous canvas that allows subsequent layers to build a substantial, even film.
For example, on a recent oak desk project, I spent an extra 45 minutes applying a water-based grain filler, letting it dry, and then sanding it back. The initial finish already felt harder and more resilient, even before the topcoats. This step alone can increase the scratch resistance of your final piece by a noticeable margin because it ensures a consistent film thickness across the entire surface.
The Topcoat Trap: Not All ‘Protective’ Finishes Are Created Equal
When it comes to durability, your choice of topcoat is perhaps the single most critical decision. The mistake I see most often is relying on common, easy-to-use finishes that simply aren’t designed for heavy wear and tear. Many DIYers reach for a readily available water-based polyurethane or an all-in-one paint-and-sealer product, believing it will offer sufficient protection. While convenient, these often fall short.
The Weakness of Many Water-Based Finishes: While modern water-based polyurethanes have improved, many still lack the hardness and solvent resistance of their oil-based counterparts, particularly for high-traffic surfaces. They can feel less substantial and are more prone to showing white scratch marks. All-in-one products, while appealing, are often a compromise, excelling at neither painting nor sealing optimally, leaving a less robust finish.
What Actually Works: Oil-Based Polyurethane, Conversion Varnish, or 2K Polyurethane.
- Oil-Based Polyurethane: For DIYers, this is often the gold standard for durability. It dries to a much harder, more mar-resistant film than most water-based options. It penetrates slightly into the wood, forming a strong bond, and its slow drying time allows for excellent leveling. The downside is longer drying times and a stronger odor, but the durability payoff is immense. I personally use oil-based poly on almost any horizontal surface that will see regular use.
- Conversion Varnish or 2K Polyurethane: These are professional-grade finishes, typically sprayed, that offer extreme durability and chemical resistance. They involve a catalyst that creates a chemical reaction, forming an incredibly tough, cross-linked film. While more complex to apply (often requiring specialized spray equipment and PPE), if you’re serious about creating heirloom-quality, scratch-proof furniture, these are the finishes you’ll see in high-end workshops. They are, however, a significant step up in complexity and cost.
Consider the application: a coffee table or dining table will benefit immensely from a heavy-duty oil-based poly, whereas a decorative shelf might get away with a simpler water-based clear coat. The key is matching the topcoat’s durability to the piece’s intended use.
The Thin-Coat Fallacy: Why More Layers (Applied Correctly) Mean More Protection
It’s tempting to rush the finishing process. You want to see your project completed, and applying multiple thin coats of topcoat, with sanding in between, feels like an unnecessary time sink. However, this impatience is a common pitfall that directly compromises durability.
The Problem with Too Few Coats: A single or even two coats of topcoat, especially if applied thinly, provide minimal film build. Imagine a shield: one thin layer of plastic isn’t going to stop much. When a sharp object, even a fingernail, makes contact, it easily penetrates these insufficient layers, leading to visible scratches that go through to the paint or wood beneath. Moreover, thin coats might not fully encapsulate the wood fibers, leaving them exposed to damage.
What Actually Works: Multiple, Even Coats with Proper Sanding. The general rule of thumb for durability is at least three to five coats of your chosen topcoat. Each coat contributes to the overall thickness and protective power of the film. Crucially, each coat needs to be applied evenly, allowed to dry fully, and lightly scuff-sanded between applications. This inter-coat sanding achieves two things:
- Promotes Adhesion: It creates microscopic scratches that give the next coat something to grip onto, ensuring a strong bond between layers.
- Smooths Imperfections: It levels out any dust nibs or unevenness, resulting in a glass-smooth, perfectly level surface that is inherently stronger and less prone to localized weak points.
My routine for a high-traffic surface is usually four to five coats of oil-based polyurethane. I apply with a high-quality natural bristle brush, allow 24 hours between coats, and then do a very light hand-sanding with 320-grit sandpaper, wiping away all dust before the next application. This meticulous layering creates a resilient, deep finish that truly resists wear.
The Hidden Enemy: Inadequate Curing Time and Environmental Conditions
This is where many DIYers, myself included in my early days, fall short due to pure excitement. You’ve applied the final coat, it feels dry to the touch, and you’re ready to put your new furniture into action. But “dry to the touch” is vastly different from “fully cured,” and skipping proper curing time is a guaranteed way to end up with easily scratched furniture.
The Chemistry of Curing: Most finishes, especially polyurethanes, dry in two stages: solvent evaporation (dry to the touch) and chemical cross-linking (curing). During the curing stage, the finish hardens to its maximum potential. This chemical reaction takes time, often weeks, not days. Putting furniture into heavy use before it’s fully cured is like wearing wet paint—it will scuff, scratch, and dent with minimal effort because the film hasn’t reached its intended hardness.
Environmental Impact: The environment also plays a huge role. Too much humidity can slow curing dramatically, while very low temperatures can halt it. Dust in the air can settle on wet finishes, creating weak points or requiring aggressive sanding that removes precious film build.
What Actually Works: Patience and Controlled Conditions.
- Read the Label: The product label will specify drying times between coats and, crucially, full cure times. For many oil-based polyurethanes, full cure can take 3-4 weeks. Plan your project schedule accordingly.
- Dedicated Curing Space: If possible, move freshly finished pieces to a dust-free, temperature-controlled environment for curing. A spare room, a protected corner of a garage, or even a large cardboard box can help. Aim for temperatures between 65-75°F (18-24°C) and moderate humidity (around 50-60%).
- Patience is a Virtue: Resist the urge to use the piece too soon. For light-use items, you might get away with 1-2 weeks. For a dining table or desk, truly wait the recommended 3-4 weeks for the finish to achieve maximum hardness. I mark a calendar with the expected full cure date for every project now—it’s that important.
What changed everything for me was realizing that patience at the end of the project is just as crucial as meticulous sanding at the beginning. Waiting that extra couple of weeks can mean the difference between a piece that looks great for a year and one that looks fantastic for a decade.
Beyond the Topcoat: Adding a Sacrificial Layer for Extra Resilience
Even with the most durable topcoat and meticulous application, life happens. Keys get dragged, glasses get slid, and inevitable small scuffs will occur. This is where a sacrificial layer comes into play—an additional, easily renewable barrier that takes the brunt of daily abuse, protecting your harder, more permanent finish underneath.
The Problem with Just a Topcoat: A hard topcoat is excellent, but it’s not invincible. Once a scratch penetrates it, repair can be difficult, often requiring sanding back and reapplying finish. This is particularly true for pigmented finishes where a scratch shows the base color underneath.
What Actually Works: Wax, Polish, and Smart Accessories.
- Furniture Wax: A high-quality paste wax applied over your fully cured finish adds a thin, durable, and easily renewable sacrificial layer. Wax provides a smooth, slick surface that can make minor impacts slide off rather than dig in. When it gets scratched, you can often buff it out or reapply wax, protecting the underlying finish. I routinely apply a coat of carnauba-based paste wax to all my finished pieces, reapplying every 6-12 months depending on use.
- Protective Polish/Conditioner: For pieces that need light cleaning and protection, a good quality furniture polish (avoiding silicone-based sprays, which can cause issues with future refinishing) can add a similar layer of defense and keep the finish looking fresh.
- Furniture Glides and Pads: This seems obvious, but it’s often overlooked. Adding felt pads to the bottoms of chairs, decorative items, or anything that slides across a surface dramatically reduces the risk of scratches. Similarly, coaster use is non-negotiable for protecting horizontal surfaces from rings and condensation.
These seemingly small additions can extend the pristine look of your DIY furniture significantly. They’re much easier to repair or replace than the core finish and act as the first line of defense against the inevitable bumps and scrapes of daily life. For instance, I recently refurbished an old dining table. After the multiple coats of oil-based poly and full cure, I applied two thin coats of a good quality furniture wax. This made the surface feel incredibly smooth and, more importantly, allowed a minor scuff from a child’s toy to be buffed right out with a soft cloth, leaving the polyurethane beneath perfectly intact.
Frequently Asked Questions
What type of wood is most scratch-resistant for DIY furniture?
Hardwoods like oak, maple, and cherry are inherently more scratch-resistant than softwoods like pine or poplar due to their denser cell structure. However, even with the hardest wood, the finish you apply (and how you apply it) is far more critical for scratch resistance than the wood itself. A well-finished pine piece can be more durable than a poorly finished oak piece.
Can I make existing DIY furniture more scratch-resistant without completely refinishing it?
Yes, to a degree. If your current finish is structurally sound but just not durable enough, you can often add a sacrificial layer like a high-quality paste wax or a durable furniture polish. This will add a buffer layer that can be buffed out or reapplied. If the scratches are already deep, you might need to lightly sand the damaged areas and apply a new topcoat (after proper cleaning and adhesion testing), but a full strip and refinish is often the most effective long-term solution for significant durability improvement.
Is sanding between coats really necessary, and what grit should I use?
Absolutely. Sanding between coats is crucial for adhesion and achieving a smooth, strong final film. Use a very light touch with fine-grit sandpaper, typically 220-320 grit. The goal isn’t to remove much material, but to scuff the surface and create a mechanical bond for the next layer. Always wipe off all dust thoroughly before applying the next coat.
How can I speed up the curing process for my furniture finish?
While you can’t drastically accelerate the chemical curing process, you can optimize conditions. Ensure good air circulation (without excessive direct fan blowing, which can cause dust) and maintain a consistent temperature between 65-75°F (18-24°C) with moderate humidity (50-60%). Avoid very cold or excessively humid environments, as these will significantly prolong curing times. Using thinner, even coats also helps, as thicker coats take longer to cure fully.
What’s the difference between ‘drying’ and ‘curing’ for a finish?
‘Drying’ refers to the evaporation of solvents from the finish, making it feel dry to the touch and resistant to dust. This usually takes hours to a few days. ‘Curing’ is the much longer chemical process where the finish hardens to its maximum durability and chemical resistance through cross-linking polymers. This can take anywhere from a few days to several weeks, depending on the product. Using a piece before it’s fully cured leaves it vulnerable to scratches, dents, and chemical damage.
Conclusion: Build to Last, Not Just to Look Good Now
Creating DIY furniture that genuinely withstands the test of time and resists the inevitable scratches of daily life is entirely achievable. The key, as I’ve learned through trial and error, lies in moving beyond surface-level techniques and embracing the principles of durable finishing that professionals use every day. It’s about more than just a quick coat; it’s about a holistic approach that prioritizes robust surface preparation, intelligent topcoat selection, meticulous layering, and, crucially, patience during the curing process.
Don’t let the fear of scratches deter you from creating beautiful, functional pieces for your home. By integrating grain filling, opting for high-quality oil-based polyurethanes (or even stepping up to professional-grade finishes), committing to multiple thin coats with proper sanding, and allowing ample curing time, you’ll produce furniture that not only looks stunning but also boasts an impressive resilience. And for that extra layer of defense, always consider adding a renewable sacrificial layer like wax and utilizing simple felt pads. Your future self, and your beautiful, unblemished furniture, will thank you.
Your next step: Before you start your next furniture project, research the specific topcoat you plan to use and its full cure time. Then, integrate a dedicated grain-filling or priming step into your plan. This small shift will make a monumental difference in the longevity of your finished piece.
Written by Chloe Davies
Lifestyle & Well-being
Chloe, a seasoned lifestyle editor, focuses on curating attainable improvements for everyday living, from home organization to well-being.
You Might Also Like

Why Your Homemade Pie Crust Is Soggy (And The Pro Secrets for Flaky Perfection Every Time)
Stop soggy pie crusts! Learn the critical mistakes home bakers make and the pro secrets for perfectly flaky, golden pie crusts every time.

Why Your Garden Faucet Always Leaks (And The Simple Fixes Most People Miss)
Stop that annoying drip! Discover the overlooked reasons your garden faucet leaks and the practical, pro-level fixes that actually work.

Why Your Homemade Sauces Are Too Thick or Gummy (And The Pro Secrets for Silky Perfection Every Time)
Struggling with thick, gummy sauces? Learn the pro secrets to achieve silky-smooth, perfectly textured homemade sauces every time.